Mastering Bondo: My Journey from Novice to Auto Body Artisan
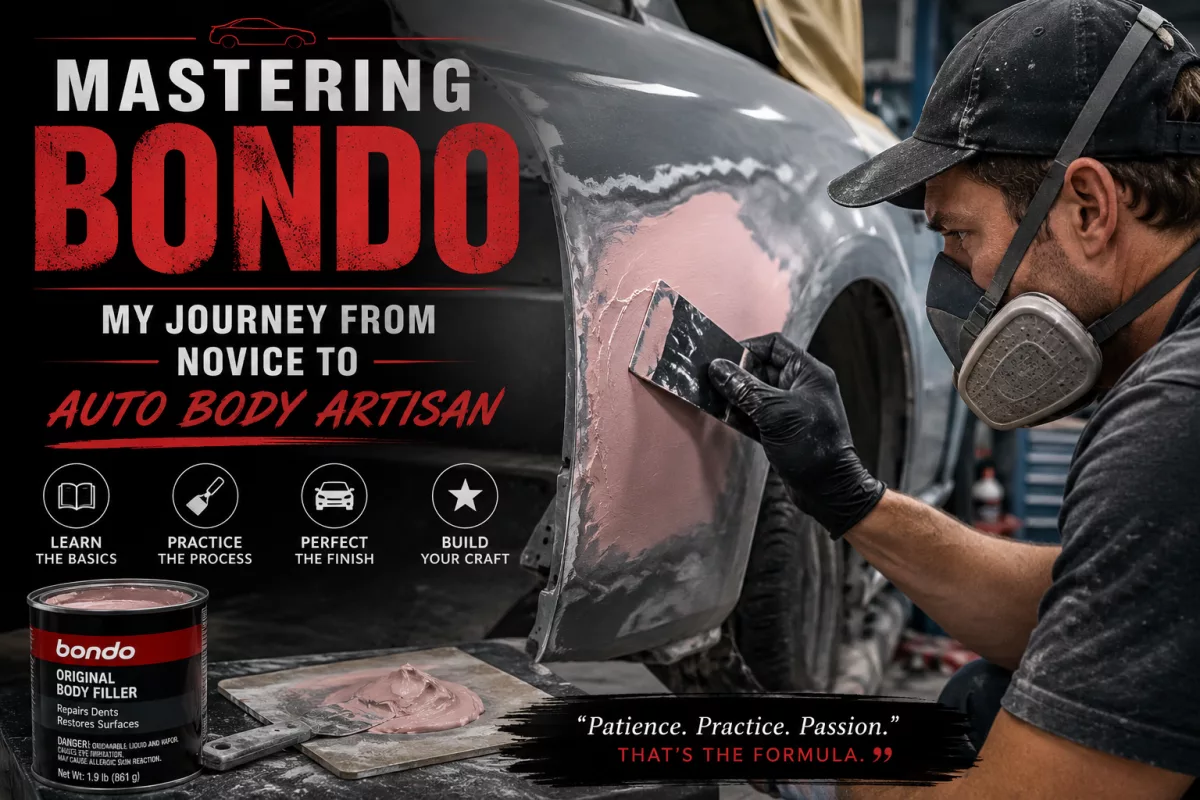
What Exactly is Bondo, Anyway? First Meeting With It
So, for a very long period of time, the word "Bondo" was just floating around in the background. It would be mentioned by mechanics, show up in garage movies, yet I never knew what it was and why I should even bother with it. All that changed with my rusty '98 Honda Civic, which had already experienced a very rude meeting with a shopping cart and a curb. It was then when I decided to investigate what exactly Bondo is about, and I have to say, it was quite an adventure!
Bondo is a name brand of a two-component polyester resin material. Basically, there's a main component in form of a paste and a smaller one of a cream. Once you mix those two, a chemical reaction occurs and you end up with the substance that quickly hardens. The purpose of Bondo is to repair dents, dings, holes and other imperfections on metal or fiberglass surface by making it paintable once again. But that's not all it can do!
Bondo - The Unsung Hero of Repair
Then, why do people prefer Bondo, especially among home repair lovers? In my opinion, there are several factors which determine that. First of all, it is extremely versatile. There is not a lot of substances which can be used to smooth any surfaces ranging from rusty metal to a cracked fiberglass boat. Secondly, it is rather forgiving. You can sand it, shape it and it will not seem like anything ever happened to the surface. It is unbelievable!
Just imagine! If you have a dent on your car, you can try to hammer it out (which is a completely different story) or just fill it with Bondo. In my case, being not a body man, yet trying to save some money and learn something new, Bondo proves to be extremely helpful in achieving decent results. Besides, it is drying really quickly.
My Favorite Uses for Bondo (From Personal Experience)
Car Bodywork: This is the primary use of Bondo. Holes from rust removal and patches, dents, collisions. It’s great for filling out the body before painting.
Repair of Fiberglass: Broken surfboard, cracks in boats, or even cracked fiberglass car parts. Bondo does an admirable job in repairing them, although there are more specific fiberglass fillers.
Home Repairs: People use it to fix wood furniture, fill in holes in walls (though not recommended), or even mend broken plastic objects. Be careful about its hardness and sandability.
Artistic Creations: Artists often use Bondo to build their sculptures, or give smooth surface to models. It's surprisingly malleable material for a limited time period.
Getting Down to the Dirty Details: Bondo Application Techniques That Work
Alright, now we come to the real deal here, since this is where things either go right or wrong for most people. In my case, it was wrong since I just applied it without paying much attention to anything else. Sanding off the thick lumpy mass that I made took quite a while, that's for sure!
1. Preparation Rules
There isn't much to say about it, since you have to do it if you want your job done right. Yes, this is extremely important step. First thing that needs to be done is cleaning the area properly. By cleaning I don't mean using the vacuum cleaner or anything like that – degreasing, removing all rust, and sanding the surrounding paint in order to provide some grip for the Bondo mixture is what you have to do. 80 grit sandpaper works fine.
2. Mixing: Getting the Perfect Proportion
Now comes the part that can be a bit daunting, especially if you’re a beginner, as you have only got a couple of minutes before it begins to harden. First, I would take some amount of the filler, equal to a golf ball size, on the mixing board. Next, I’ll put some hardener into the filler, a small bead, approximately a 1.5-inch strip for the golf ball size of the filler. It’s important not to add too much or too little hardener, because it may either harden too soon and be very brittle or fail to cure at all. Mixing should be done rapidly and evenly with a plastic spreader in about 20-30 seconds.
3. Application: Thin Layers Are Your Friend
You must move quickly once you've mixed the putty. I apply the Bondo with a flexible plastic spreader tool. The key here is to lay thin layers. It will be difficult to repair deep dents using just one layer because you will inevitably trap air and have to spend hours sanding the result. With my first layer, I press it into place to provide good bonding and smoothing. When I lay subsequent layers, I continue to build up the layers to ensure that there is extra to sand.
4. Sanding the Body Fill: Patience Is a Virtue
Most of the time, Bondo dries quickly, within 15 to 20 minutes, depending on the weather conditions and the amount of hardener applied. As soon as the compound has hardened and become hard to touch, then you can proceed with the sanding process. I usually start with an 80-grit sand paper to bring down any high points and get the overall shape right. After that, I use the 180-grit to define the shape and the 320-grit for getting a really smooth surface. You have to make sure to feather the edges so there's no raised edge between the new and old surfaces.
Tips and Tricks That I Have Learned from Experience (So You Do Not Repeat My Mistakes)
Work in Small Quantities: In all honesty, please do not mix a large amount unless you are working in a very large space. It will only result in wasted material because it dries up on your mixing board.
Wipe the Spreader Immediately: Wipe the spreader as soon as possible because once the Bondo cures on the spreader it is extremely difficult to clean it.
Good Ventilation: It smells. Yes, it smells really badly so please make sure to use it somewhere with good ventilation, preferably outside or with a fan.
Practice Makes Perfect: The first couple times I tried it was really ugly; however, now I am fairly good at it. Practice makes perfect!
Do Not Fear Reapplication: It sometimes happens that one sands too much or that there is a low spot. Just mix up some more and apply another thin layer.
Safety First: Don't Be a Hero
I get it, I get it, safety instructions may seem like a bore, but with Bondo, there's actually a reason. Fumes are not good for your lungs, and dust is something you do not want to be breathing.
Gloves: The filler and hardener may cause irritation to the skin. Put on those nitrile gloves.
Eye Protection: Eye protection is required. Don't let sanding dust get into your eyes or even splash in your face.
Respiratory Protection: A respirator with organic vapor cartridges is a requirement when you are working inside or for a long period.
For me, Bondo changed from an unknown product to a tool of my DIY kit. With it, I was able to give my old car a second chance at life and gain courage to work on repairs in my home. It is not magic, but if you put in a little effort and learn how to use it, you will get great results. Try!
About Editorial Team
Senior columnist and culture critic specializing in architectural designs, emerging high-growth systems, and contemporary philosophies.